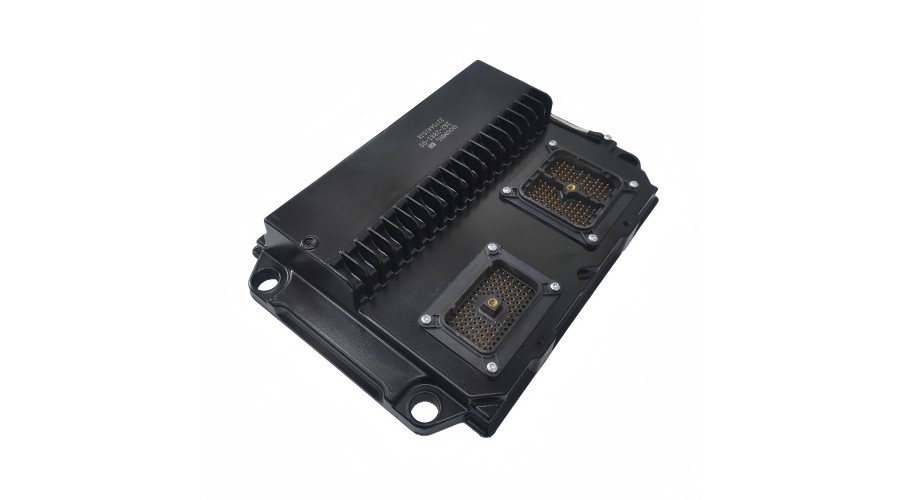
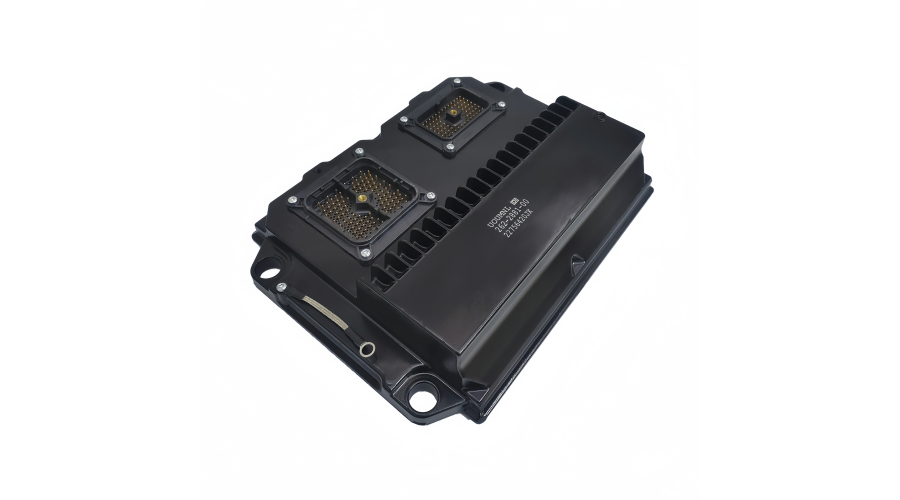
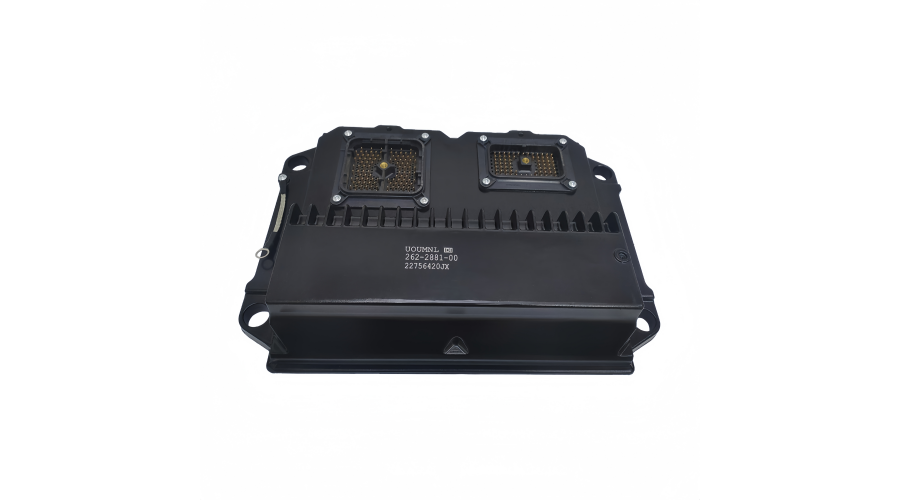
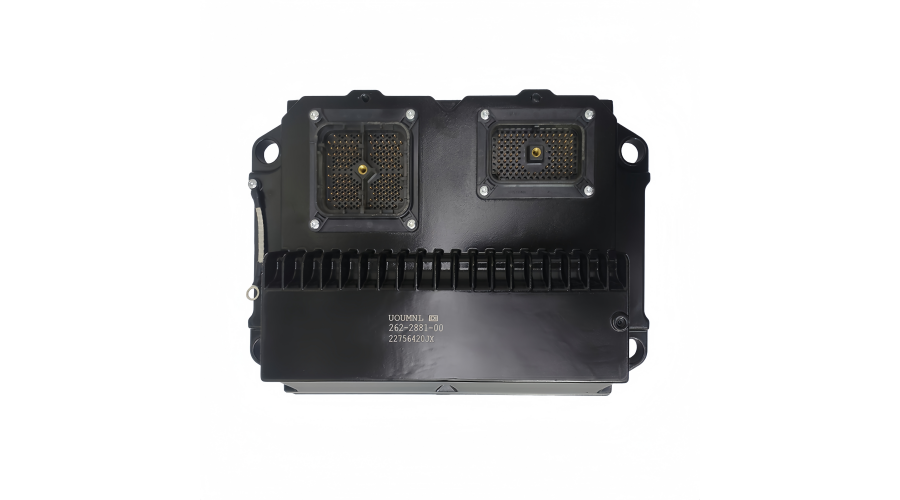
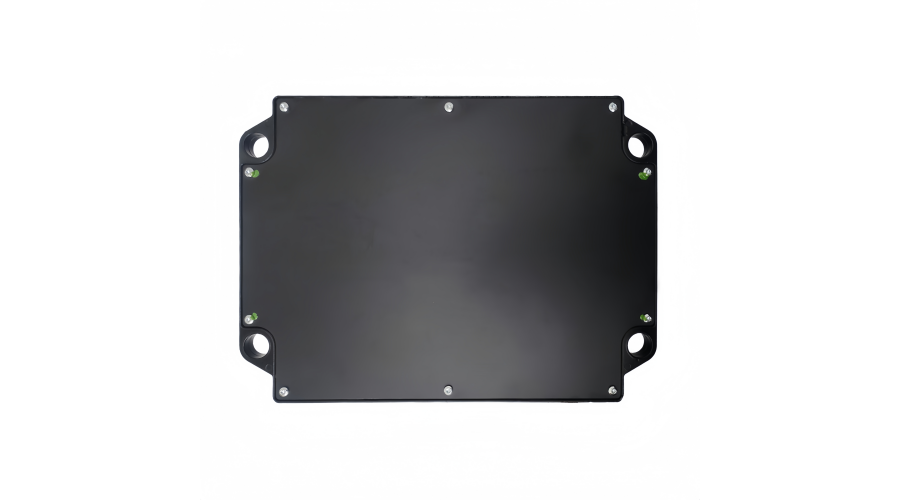
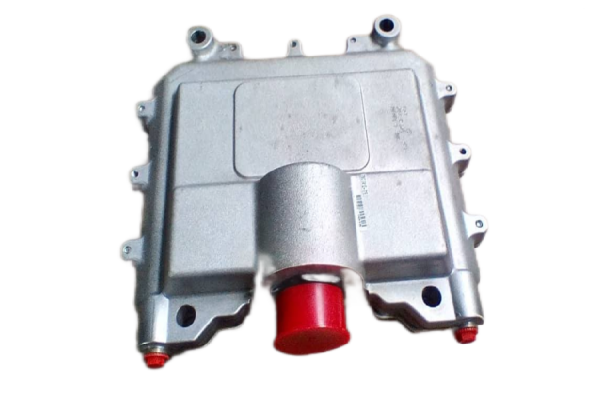
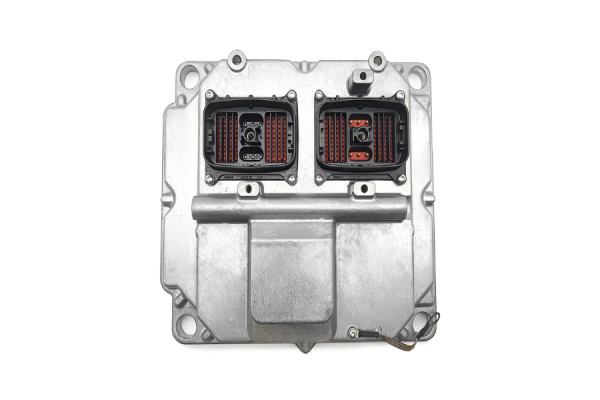
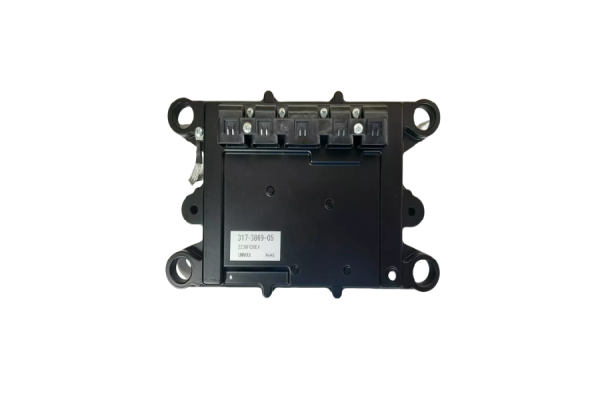
Part Number: 262-2881-00
Description: ECM Control Panel / Controller Assembly
This is a critical electronic component for managing Caterpillar engines.
Core Function
This part is essentially the "brain" of the engine. It is responsible for:
Monitoring: Reading inputs from sensors (speed, temperature, pressure, throttle position).
Controlling: Precisely managing actuators (fuel injection, timing, turbocharger).
Diagnosing: Detecting operational faults and storing diagnostic trouble codes (readable with Caterpillar's Electronic Technician (ET) software).
Optimizing: Ensuring the engine runs at peak efficiency for performance, fuel economy, and emissions compliance.
Typical Applications
This ECM is commonly found on mid-to-large Caterpillar industrial and marine engines used in:
Electric Power Generation (Generator Sets / Gensets)
Marine Propulsion and Auxiliary Power
Industrial Applications (Pumps, compressors)
It is associated with engine platforms like the Caterpillar 3500 Series (e.g., 3508, 3512, 3516) and other similar families, often in heavy-duty applications.
Critical Considerations Before Purchase or Replacement
Exact Match is Mandatory: Caterpillar ECMs are not simple plug-and-play parts. They are hard-coded to a specific Engine Serial Number (ESN) and require the correct software rating. Installing an unprogrammed module will not work.
Programming/Flashing is Required: A new, used, or rebuilt ECM must be programmed (flashed) by a certified technician using Caterpillar's proprietary ET software and hardware. The correct engine parameters, firmware, and the ESN must be loaded.
Core Exchange: When purchasing a new or remanufactured unit, you will almost always be required to return your old, faulty ECM as a "core" for a significant core charge.
Diagnosis First: A faulty ECM is often a last resort. Professional diagnosis should first rule out issues with sensors, wiring harnesses, connectors, and power supply.
Recommended Steps to Proceed
Gather Information: Locate and write down your engine's Model Number and, most importantly, the Engine Serial Number (ESN).
Contact Authorized Channels:
Caterpillar Dealer (Primary Recommendation): They provide guaranteed parts compatibility, professional programming, and full warranty support. Provide them with your ESN and the part number.
Specialized Independent Repair Shops: Reputable shops specializing in Caterpillar ECM repair/remans can offer cost-effective alternatives. Ensure they have proper Caterpillar programming capabilities.
Request Options & Quote: Ask for a quote on:
Summary
The 262-2881-00 is a vital, sophisticated control unit. Successful replacement involves part procurement + professional programming. Always work with a qualified technician or service provider who can handle the programming and installation process for your specific engine.
If you can provide your Engine Serial Number (ESN), a dealer or specialist can give you the most precise application and compatibility details.
Here are the critical installation precautions for a Caterpillar ECM/Control Panel like part number 262-2881-00.
WARNING: Improper installation can destroy the new ECM, damage the engine, or create a safety hazard. These steps assume installation is being performed by a qualified technician with the correct tools.
Before Physical Installation (MOST IMPORTANT)
Verify Part & Software Match:
Confirm the physical part number on the new unit matches the old one.
DO NOT INSTALL A BLANK/UNPROGRAMMED ECM. The module must be pre-programmed (flashed) by a dealer or specialist for your specific Engine Serial Number (ESN) and application before installation. This is the single most crucial step.
Power Down Completely:
Turn the engine ignition/key switch to the OFF position.
Disconnect the negative (-) battery terminal(s) from the battery. Wait at least 2-3 minutes for residual power in the system to drain (capacitor discharge).
Workstation & Personal Safety:
Electrostatic Discharge (ESD) Protection: Wear an anti-static wrist strap connected to a proper engine ground point. Handle the ECM by its edges. Do not touch the electrical connectors or circuit board.
Work Area: Ensure the work area is clean, dry, and well-lit. Avoid installing in wet or humid conditions.
During Installation
Inspect Connectors & Harness Thoroughly:
Bent, pushed-out, or corroded pins.
Moisture, dirt, or debris.
Weather seal damage.
Carefully inspect the male and female connectors on the wiring harness and the new ECM for:
Cause of Failure: If the old ECM failed, the cause (e.g., a short in a sensor circuit) may still be present in the harness. Visually inspect the harness for chafing, cuts, or burns.
Correct Installation:
Ensure connector alignment is perfect before mating. Do not force them.
Secure all locking clips/latches on the connectors fully.
Mount the ECM securely to its base using the specified bolts/torque. Ensure a clean, metal-to-metal contact for proper grounding.
After Installation (BEFORE Starting Engine)
Reconnect Power & Check:
Reconnect the negative (-) battery terminal(s).
Turn the ignition/key switch to the ON position. DO NOT START THE ENGINE.
Observe dashboard indicators. Listen for the fuel solenoid clicking (normal system activation). Check for any immediate warning lights or alarms.
Perform System Check with Diagnostic Tool:
Connect the Caterpillar Electronic Technician (ET) or equivalent diagnostic tool.
Verify the programmed ESN matches your engine.
Clear any legacy fault codes from the previous installation.
Check for active diagnostic codes and logged parameters to ensure all sensors are communicating correctly before cranking.
Initial Start-Up & Final Verification
Initial Start:
Start the engine and let it idle.
Monitor the tool for real-time data (oil pressure, coolant temp, RPM). Ensure readings are logical and stable.
Listen for unusual noises and check for smoke or leaks.
Operational Test & Calibration (If Required):
Some systems require calibration procedures after an ECM replacement (e.g., throttle position sensor "learn," timing calibration on some models). Follow the specific procedure for your engine model using the diagnostic tool.
Perform a low-load operational test, checking for proper throttle response.
Final Code Check: