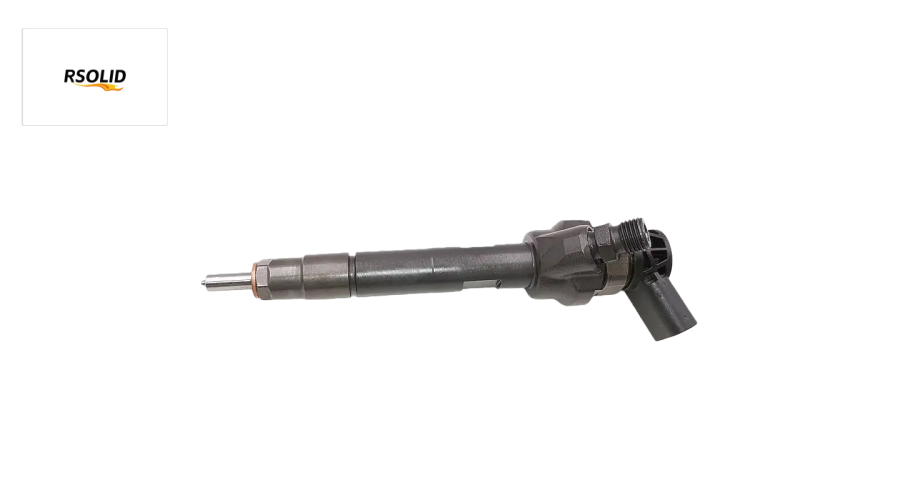
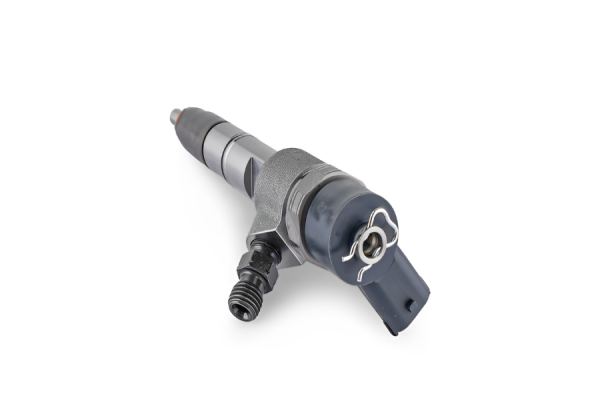
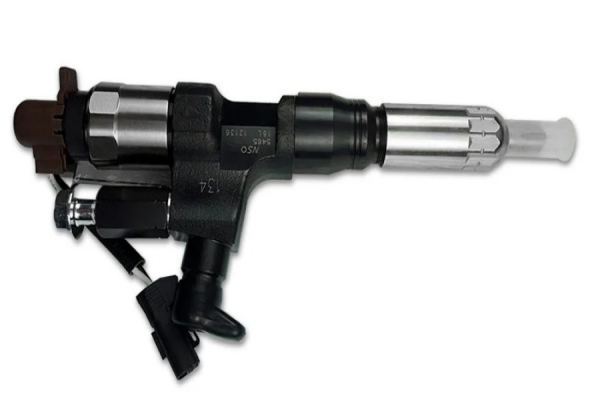
The Bosch 0445110478 injector (and the family of high-precision solenoid injectors it belongs to) represents a significant advancement over previous generations. Its structural advantages are key to meeting the demanding requirements of modern direct-injection turbocharged engines like BMW's N20 and N55.
Here are its primary structural advantages:
1. High-Pressure Capability & Robust Construction
Designed for Direct Injection (DI): Unlike port fuel injectors, this injector is built to withstand the extreme pressures (up to 200 bar or ~2900 psi) of a gasoline direct injection (GDI) rail. Its body, internal components, and seals are engineered for this high-stress environment.
Sacrificial Nozzle: The injector tip is hardened and designed to endure high temperatures and pressures within the combustion chamber without failure.
2. Precision-Machined Multi-Hole Nozzle
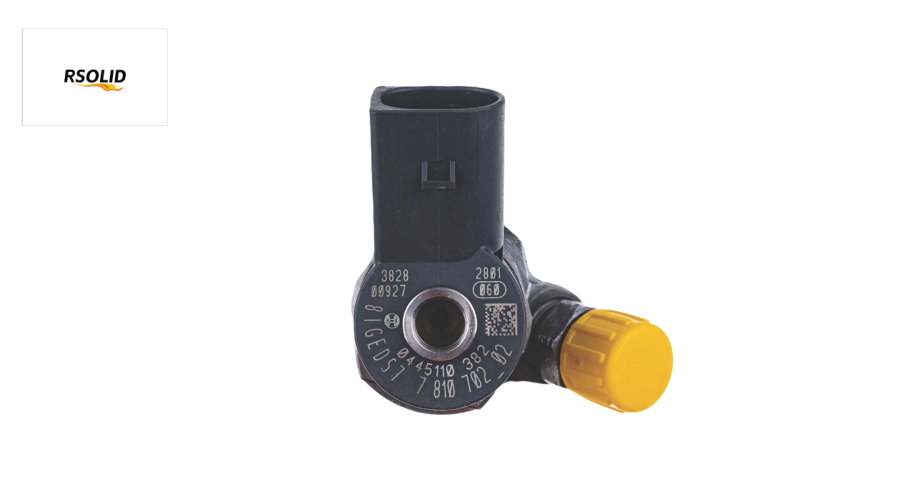
3. Fast-Acting Solenoid Actuator
Structure: Uses an electrically actuated solenoid, not a slower piezoelectric crystal. Its design allows for very rapid opening and closing.
Advantage: Enables multiple precise injections per combustion cycle (e.g., a pilot injection for smooth ignition, a main injection, and sometimes a post injection for emissions control). This flexibility is crucial for performance, efficiency, and meeting Euro 5/Euro 6 emissions standards.
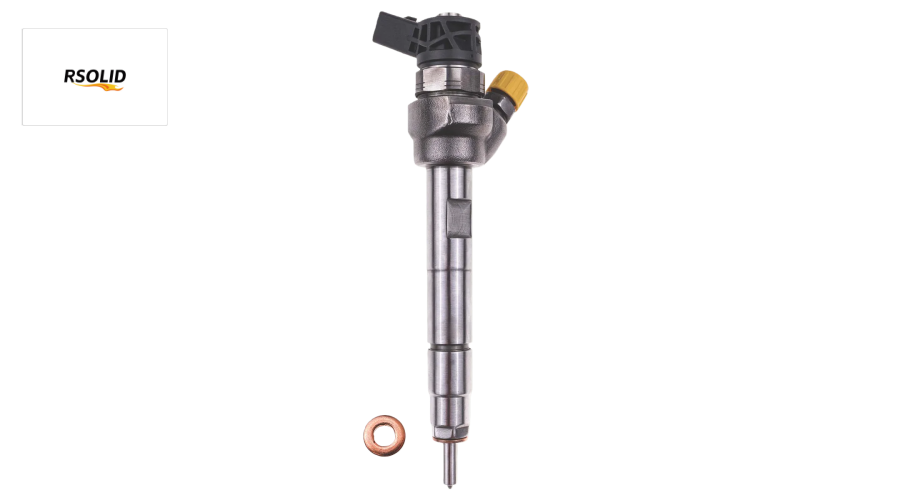
4. Integrated Filter & Precision Fit
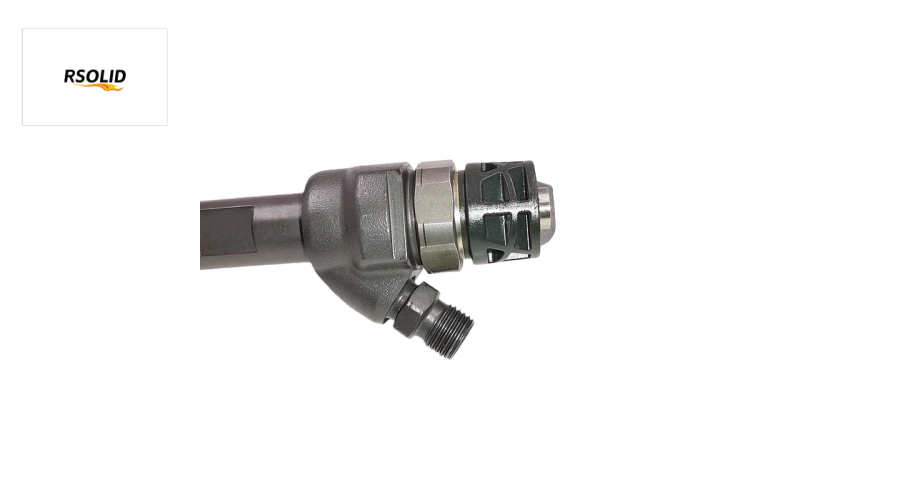
Built-In Inlet Filter: The top of the injector contains a fine mesh filter. This protects the ultra-precise internal valve and nozzle from any debris in the fuel system, enhancing reliability.
Precision Sealing Surfaces: The injector has precisely machined upper and lower sealing surfaces that, with the correct seals (copper washer below, O-rings above), ensure a leak-proof connection to both the high-pressure fuel rail and the cylinder head.
5. Optimized Magnetic Circuit Design
6. Temperature and Deposit Resistance
Materials: Constructed from high-grade steels and alloys capable of surviving the intense thermal cycling of an engine bay and the combustion chamber's heat.
Design: While not immune, the multi-hole spray design is generally more resistant to coking (carbon deposit buildup) than some earlier designs, as the fuel spray helps cool the tip.
Resulting Performance Advantages for the Engine:
These structural features translate directly into engine benefits:
Increased Power & Torque: Efficient, high-pressure fuel delivery supports higher boost and compression ratios.
Improved Fuel Economy: Better atomization leads to more complete combustion.
Reduced Emissions: Precise multi-injection strategies and clean combustion lower particulate matter (PM) and hydrocarbon (HC) emissions.
Smoother Operation: Pilot injections enable quieter, more controlled combustion (reducing "DI knock").
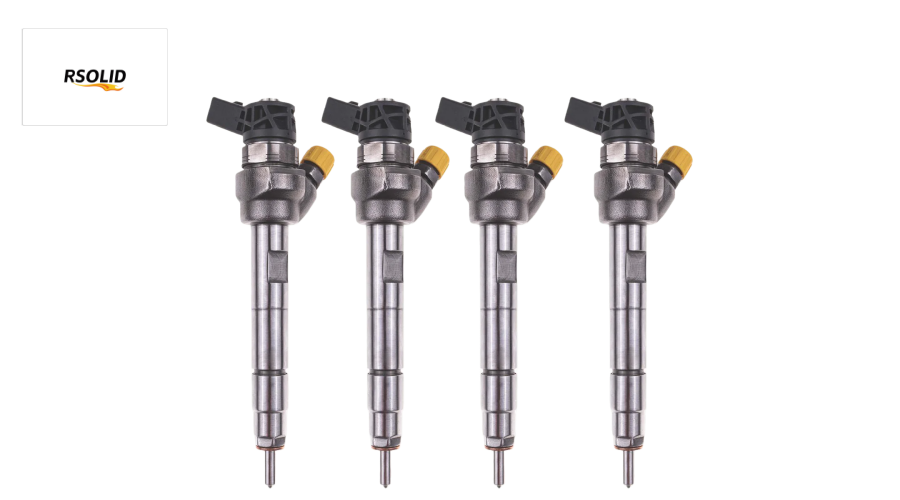
In summary, the structural advantages of the Bosch 0445110478 injector lie in its robust high-pressure construction, precision multi-hole nozzle, fast solenoid actuator, and integrated protective features. These elements work together to provide the precise, high-performance fuel metering required by advanced turbocharged direct-injection engines.
Installation steps for replacing fuel injectors:
SAFETY & PREPARATION IS PARAMOUNT
Work in a Well-Ventilated Area.
Relieve Fuel System Pressure before disconnecting any lines. (Procedure detailed below).
Disconnect the Negative Battery Terminal to prevent electrical shorts and accidental activation of the fuel pump.
Have a Class B Fire Extinguisher Nearby.
Do Not Smoke or Have Open Flames.
Wear Safety Glasses.
Tools & Parts Required
New Fuel Injectors
New Injector Seals (upper O-rings, lower sealing ring/copper washer) – ALWAYS USE NEW ONES.
Torque Wrench (inch-pounds capable)
Set of Sockets, Extensions, and Wrenches
Torx/Star (E-Socket) bits (common for BMW fuel rail)
Plastic Trim Removal Tools
Fuel Line Disconnect Tools (appropriate size for your quick-connects)
A small pick or dental hook tool
Razor Blade or plastic scraper
Compressed air (optional, but helpful)
Injector Puller/Removal Tool (HIGHLY Recommended for DI engines) – The injectors are often carbon-locked in the cylinder head.
Brake Cleaner (non-chlorinated) and lint-free shop towels.
Step-by-Step Installation/Replacement Procedure
Part 1: Removal of Old Injectors
Relieve Fuel Pressure:
Locate the fuel pump fuse or relay (check owner's manual). Start the engine and let it run until it stalls from fuel starvation. Crank the starter for an additional 3 seconds.
OR, on many modern cars, you can carefully wrap a shop towel around the Schrader valve on the fuel rail (if equipped) and slowly depress the valve core to vent pressure.
Remove Engine Cover(s): Use trim tools to carefully unclip and remove any plastic engine covers and beauty panels.
Disconnect Electrical Connectors:
Remove the Intake Ductwork: To access the fuel rail, you will typically need to remove the intake air duct, air filter housing, or other components. Follow the service manual.
Disconnect Fuel Lines from Rail:
Use the proper fuel line disconnect tool to release the quick-connect fittings on the fuel supply and return lines (if present). Have a rag ready to catch minor drips.
On direct-injection rails, there is often a high-pressure line from the pump and a fuel rail pressure sensor. Unbolt the high-pressure line and unplug the sensor.
Remove the Fuel Rail:
The fuel rail is bolted to the intake manifold or cylinder head, usually with 2-4 bolts (often Torx). Note their locations.
Carefully and evenly loosen and remove the fuel rail bolts.
Gently rock the entire fuel rail assembly (with injectors still seated in it) back and forth to break it free from the cylinder head. Do not pry. Once loose, lift the entire rail with injectors out of the engine as a unit.
Remove Injectors from Rail or Head:
Important: Decide if you will replace the injectors on the bench or in the car. For carbon-locked injectors, removing the rail with injectors first is often easier.
On the bench, release the injector retaining clips or caps that hold them into the fuel rail. They should slide out.
If an injector is stuck in the cylinder head, DO NOT use pliers on the electrical connector or plastic body. You must use a specific injector puller/slide hammer tool. Thread or clamp the tool onto the injector's fuel inlet and carefully extract it. Applying heat (carefully with a heat gun) around the injector bore can help break down carbon.
Clean the Injector Bores:
Once all injectors are out, this is a critical step. Use a lint-free towel wrapped around a pick or small screwdriver to carefully wipe out the injector wells in the cylinder head.
Remove any old copper sealing rings or debris. A blast of compressed air can help.
DO NOT let debris fall into the open cylinder. You may wish to cover the ports with clean shop towels when not actively cleaning.