


Diesel Injector DIY Cleaning: A Step-by-Step Tutorial for Restoring Engine Performance
Diesel Injector DIY Cleaning: A Step-by-Step Tutorial for Restoring Engine Performance
Meta Description: Learn how to clean diesel injectors at home with this detailed DIY tutorial. Save money, improve fuel economy, and restore power using simple tools and proven methods.
Target Keywords: diesel injector cleaning DIY, clean diesel injectors at home, diesel injector maintenance, ultrasonic injector cleaning, diesel fuel system care
Why Clean Your Diesel Injectors?
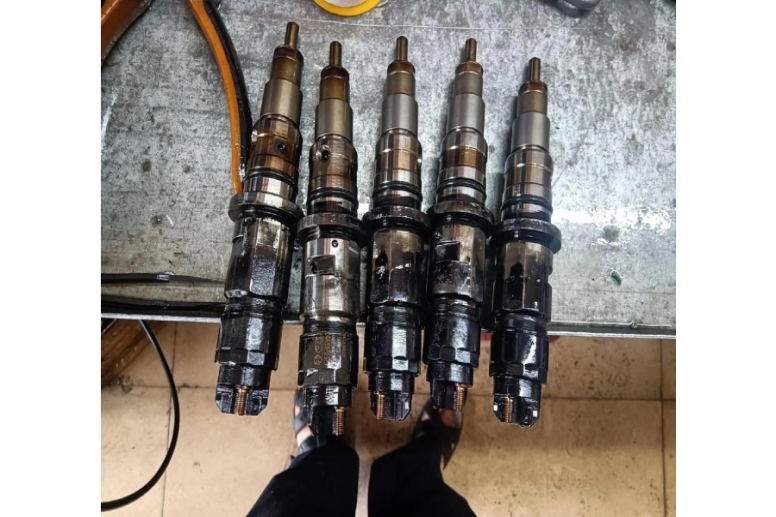
Diesel injectors are precision components that meter and atomize fuel for combustion. Over time, carbon deposits, varnish, and contaminants from low-quality fuel or biodiesel can clog nozzle holes, disrupt spray patterns, and cause:
Rough idling and misfires
Reduced power and sluggish acceleration
Increased fuel consumption (up to 15% loss)
Excessive black smoke from the exhaust
Hard starting, especially in cold weather
A professional ultrasonic cleaning at a shop can cost $150–$400 per set. With this DIY guide, you can perform a thorough cleaning for under $50 in supplies—and often achieve 90% of the results.
Safety First – Critical Warnings
⚠️ Diesel fuel is flammable and carcinogenic. Work outdoors or in a well-ventilated garage with explosion-proof fans. Wear nitrile gloves, safety goggles, and a respirator (P100 organic vapor cartridge). Keep a Class B fire extinguisher within arm’s reach.
🚫 Never smoke or use open flames near fuel.
🔧 Disconnect the battery negative terminal before removing injectors to avoid accidental cranking.
Tools & Materials You’ll Need
| Item | Purpose |
|---|---|
| Injector puller / slide hammer (or specialized removal tool for your engine) | Safe extraction without damaging threads |
| Ultrasonic cleaner (at least 2‑liter capacity, 40‑60 kHz) | Loosening internal carbon deposits |
| Diesel injector cleaning solution (e.g., Liqui Moly, Wynns, or PEA-based concentrate) | Dissolves varnish and soot |
| Brake cleaner or carburetor cleaner (non-chlorinated) | External degreasing |
| New copper crush washers / sealing rings (OEM spec) | Mandatory for reinstallation |
| Torque wrench (range 20–100 Nm) | Precise tightening to factory specs |
| Set of small picks, brass brushes, and microfiber cloths | Manual debris removal |
| Diesel fuel or kerosene | Rinsing and lubricating during reassembly |
| Test jar with clear glass | Visual spray-pattern check (optional but recommended) |
| Service manual for your vehicle | Torque values, removal sequence, and orientation marks |
Step-by-Step Cleaning Procedure
Step 1 – Prepare the Engine and Remove Injectors
Relieve fuel system pressure – Consult your manual; on many common-rail systems, you need to unplug the fuel pump relay and crank the engine for 5 seconds.
Clean the exterior around each injector using brake cleaner and compressed air. Any dirt falling into the combustion chamber will score cylinder walls.
Disconnect fuel return lines, electrical connectors (if piezoelectric/electronic), and high-pressure fuel lines – cap all open fittings with clean plastic caps.
Remove the hold-down clamps or bolts – note the orientation and order.
Extract the injector using a puller. Never pry against the valve cover or cylinder head. If stuck, apply penetrating oil and let it soak for 30 minutes.
Tip: Label each injector with its cylinder number (e.g., #1, #2) – they must go back to the same hole.
Step 2 – External Degreasing
Place each injector on a clean shop towel.
Spray brake cleaner over the body and nozzle tip to remove heavy external grime.
Use a brass brush to gently scrub the tip area (avoid touching the nozzle holes with metal – brass is softer than steel and won’t enlarge them).
Wipe dry and inspect for visible damage (cracked bodies, eroded tips). If damaged, replace – do not clean.
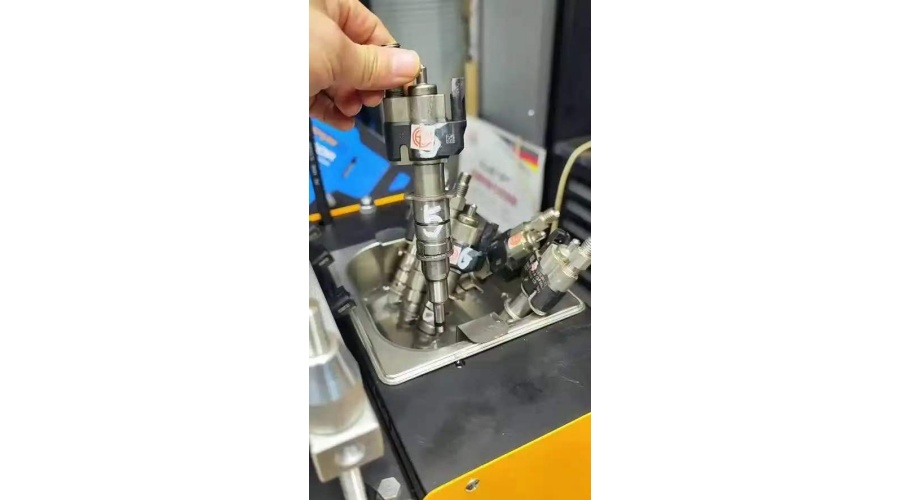
Step 3 – Ultrasonic Cleaning (The Core Process)
Fill the ultrasonic tank with the recommended cleaning solution (dilute per manufacturer instructions). Heat the solution to 50–60°C (122–140°F) – warmth enhances cavitation.
Suspend injectors in the basket so they are fully submerged but not touching the tank bottom. The nozzle tip should point downward to allow dislodged particles to fall away.
Run the cleaner for 15–20 minutes per cycle. For heavily clogged injectors, repeat 2–3 cycles, replacing the solution between cycles.
After each cycle, remove the injector and use a fine pick to very gently clear any visible blockage at the nozzle holes – but only if you have a steady hand; otherwise skip this.
Rinse each injector with fresh diesel or kerosene to wash off residual cleaning chemicals.
Crucial: Do not use water-based solutions – they can cause internal rust. Always use solvent-based diesel injector cleaners.
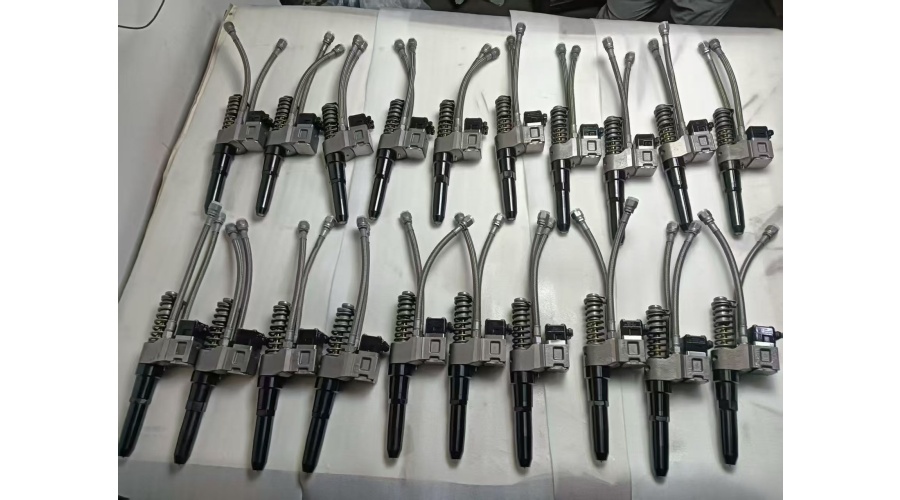
Step 4 – Manual Actuation (For Mechanical Injectors Only)
If you have older mechanical (non-common-rail) injectors, you can test and flush them:
Clamp the injector in a soft-jaw vise.
Attach a hand-operated pop tester (or a modified grease gun filled with clean diesel) to the inlet.
Pump slowly and observe the spray pattern – it should be a fine, conical mist with no drips or jets.
While pumping, tap the injector body with a plastic mallet to dislodge stubborn particles.
For common-rail or piezoelectric injectors, do NOT apply external pressure – they are electronically controlled and require a bench tester. Skip this step and rely on ultrasonic cleaning only.
Step 5 – Final Rinse and Drying
Rinse each injector thoroughly with clean diesel fuel.
Blow dry with compressed air (set to max 30 psi) – direct air through the inlet and around the nozzle.
Place them in a clean, lint-free cloth and let them air-dry for 15 minutes. Moisture inside can cause rapid corrosion.
Step 6 – Replace Seals and Reinstall
Remove old copper washers from the injector nozzle and the cylinder head recess – use a pick, but be careful not to scratch the sealing surface.
Install new crush washers (always replace – they are one-time use).
Lightly lubricate the injector body and new O-rings (if any) with clean diesel or assembly lube.
Insert each injector into its original cylinder – align the orientation mark (often a notch or flat) per the manual.
Install hold-down clamps and tighten to the specified torque in two stages (e.g., 10 Nm then final 45 Nm). Over-tightening can deform the injector body; under-tightening causes combustion gas blow-by.
Reconnect fuel lines, return hoses, and electrical plugs – use new copper gaskets on high-pressure line fittings if required.
Step 7 – Priming and Leak Check
Reconnect the battery.
Turn the ignition to “ON” (do not crank) for 30 seconds to allow the lift pump to prime the system – repeat 3–4 times.
Crank the engine for 5–10 seconds at a time (with throttle floored) until it fires. Expect rough running for the first 30 seconds as air purges.
Once running, visually inspect all fuel line connections for leaks – tighten if necessary.
Take a short test drive and monitor for smoke, idle smoothness, and throttle response.
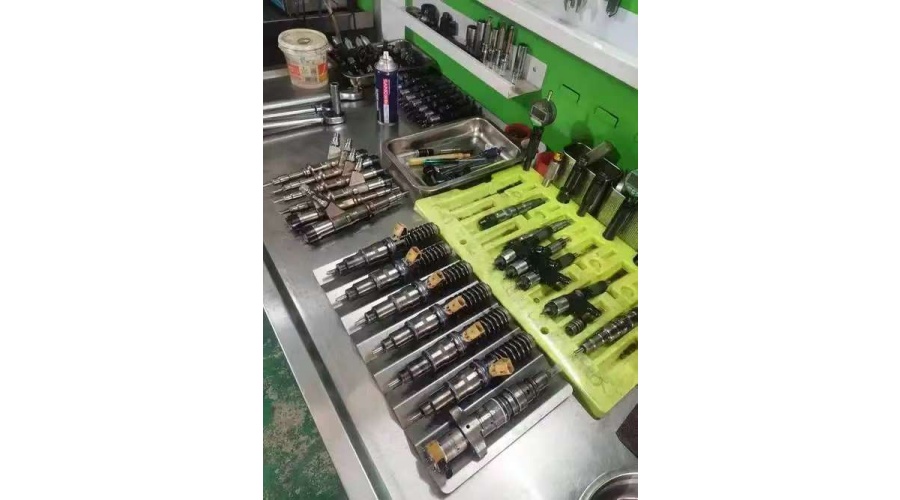
Post-Cleaning Verification
Fuel economy: Track your next 2–3 fill-ups – you should see a 5–10% improvement.
Smoke: Black smoke should reduce significantly.
Diagnostic trouble codes (DTC): If you have a scan tool, clear any injector-related codes and verify they don’t return.
If performance does not improve, the injectors may have worn internal components (needle/seat erosion) or electronic faults – in that case, professional rebuild or replacement is necessary.
Common Mistakes to Avoid
| Mistake | Consequence |
|---|---|
| Skipping the new copper washers | Combustion leakage, loss of compression, and fire risk |
| Using water-based cleaner in ultrasonic | Internal rust that ruins the injector |
| Overtightening hold-down bolts | Bent injector body, sticking plunger |
| Mixing up injector positions | Mismatched trim codes (for common-rail) cause rough running |
| Not relieving fuel pressure | High-pressure fuel spray (up to 30,000 psi) can penetrate skin |
When DIY Cleaning Isn’t Enough
Injector return flow (leak-off) exceeds specification – indicates worn control valves.
Needle lift or piezo stack failure – requires calibration on a test bench.
Visible scoring or pitting on the nozzle tip – replacement is the only safe option.
In these cases, invest in a professional diesel injection service – they have flow benches that can measure and calibrate each injector to OEM tolerances.