



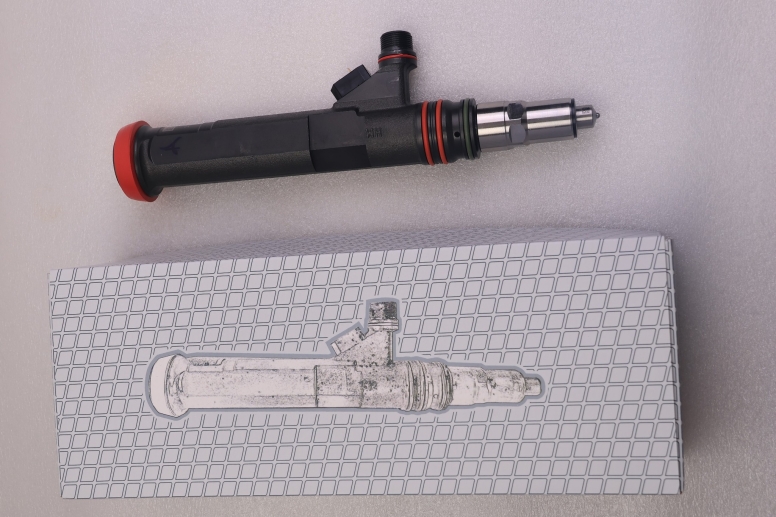
How to Bench-Test a Diesel Injector Before Installing It ?
Installing a diesel injector without testing it is a gamble. A used, remanufactured, or even “new old stock” injector can look clean on the outside and still fail on the inside. The result is often a rough idle, white smoke, misfire codes, high fuel return flow, or a second teardown—sometimes within minutes of startup.
A proper bench test of a diesel injector before installation takes less time than removing and reinstalling it later. This guide explains what to check, which tests matter for mechanical and common-rail injectors, and two real-world cases where bench testing prevented expensive comebacks.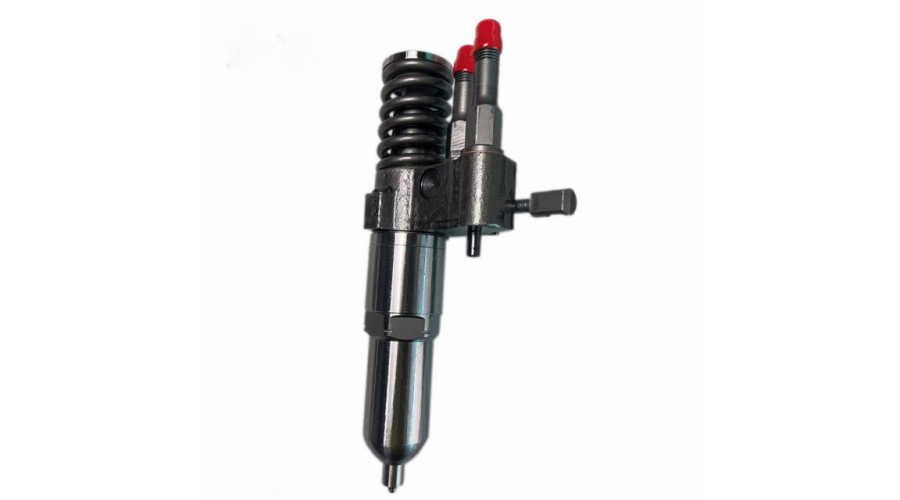
Why Bench-Test a Diesel Injector Before Installing It?
A diesel injector must do three things correctly:
Open and close at the right time—electrically and hydraulically.
Deliver the correct fuel quantity—especially across multiple pressures and pulse widths.
Atomize fuel properly and limit return leakage—so the rail pressure and combustion stay stable.
A visual inspection cannot confirm any of these. Even a “click test” only proves the solenoid or piezo stack responds; it does not prove the injector can seal, flow, or spray correctly.
For common-rail systems, an untested injector can also carry the wrong trim/calibration code. The engine may start, but it can run poorly because the ECU is applying the wrong correction values.
Know Which Injector You Are Testing
Bench-test procedures depend on injector type:
Mechanical injectors: Test opening pressure (“pop pressure”), spray pattern, chatter, and leakage on a pop tester.
Solenoid common-rail injectors: Test coil resistance, back leakage/return flow, injection quantity at multiple rail pressures, and spray quality on an electronic common-rail bench.
Piezo common-rail injectors: Do not apply direct voltage or use a simple ohmmeter as a “go/no-go” test. Use manufacturer-approved piezo test equipment and follow the injector maker’s procedures.
If you do not have an electronic common-rail test bench, have the injector tested by a qualified diesel injection shop before installation. A basic pop tester is not suitable for common-rail injectors.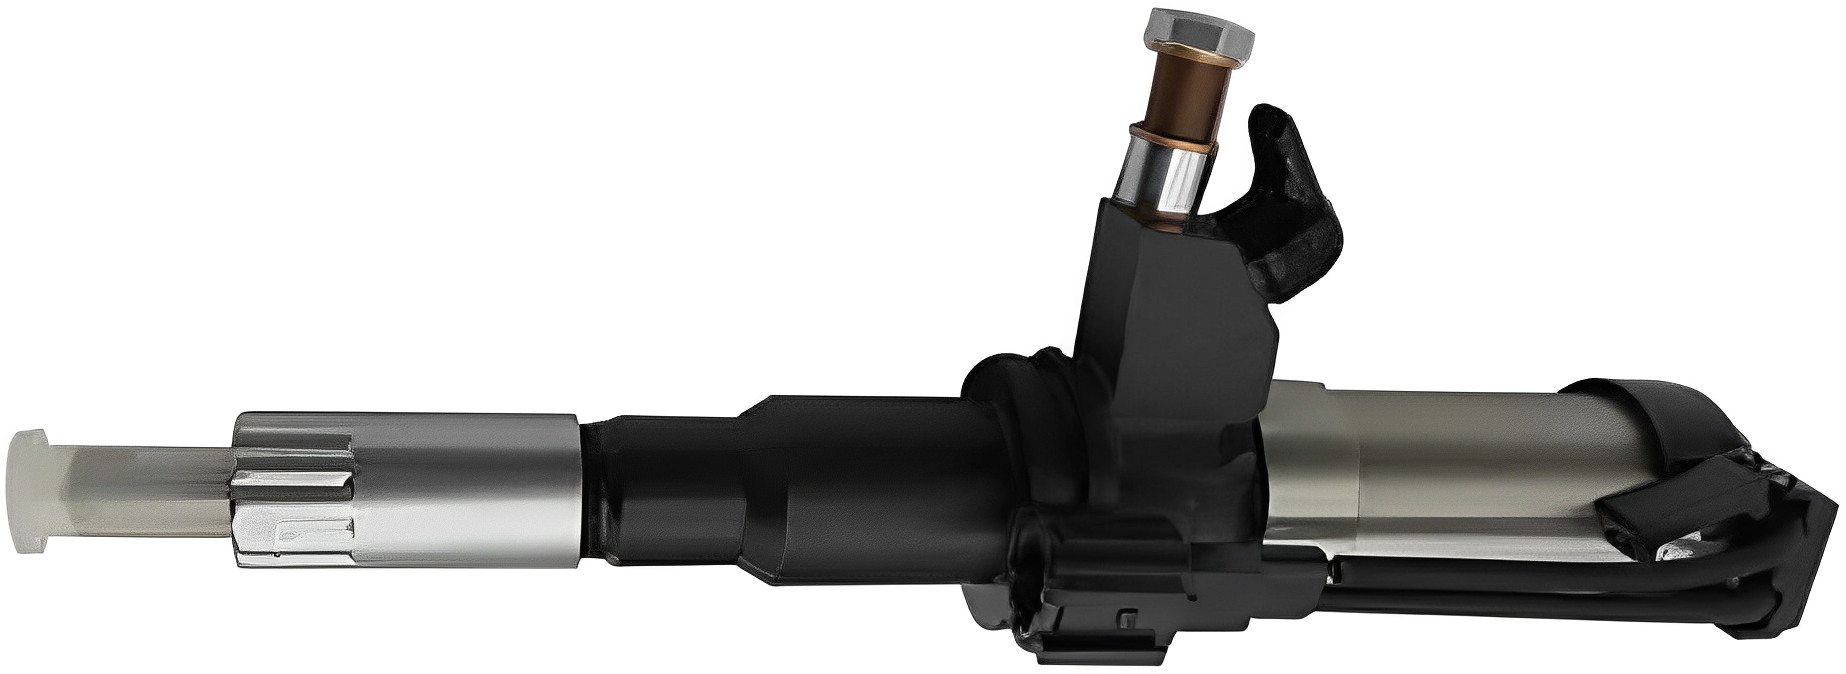
Pre-Test Checks Before the Bench Test
Before connecting the injector to any test bench:
Verify the part number and application. Many injectors look similar but have different flow rates or spray angles.
Check the calibration/trim code. Confirm that the code on the injector matches the code you will enter into the ECU.
Inspect for damage. Look for cracked bodies, damaged connectors, bent pins, missing nozzle caps, rust, or signs of overheating.
Keep it clean. Cap the inlet and return ports until testing. Diesel injection tolerances are measured in microns.
Use proper safety gear. High-pressure diesel can penetrate skin. Never test with compressed air, and never point a spray at people.
Step-by-Step: How to Bench-Test a Diesel Injector Before Installing
1. Perform an electrical check
For solenoid injectors, measure coil resistance at the specified temperature and compare it with OEM specifications. Check for open circuits, shorts to ground, and damaged connector pins.
For piezo injectors, use the correct capacitance/piezo test method specified by the manufacturer. Do not assume a simple resistance reading proves the injector is good.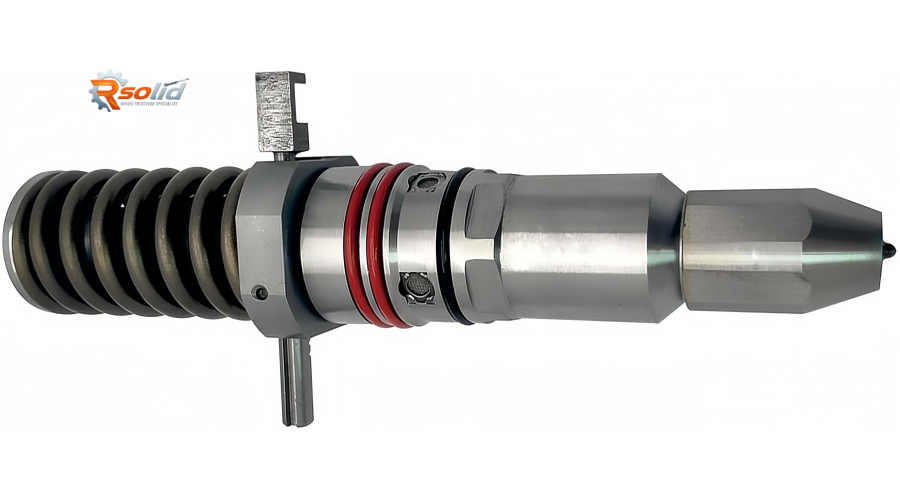
2. Run a back-leakage/return-flow test
Back leakage is one of the most common reasons a used injector fails after installation. The bench applies specified pressure and measures return flow over time. Compare each injector with OEM limits and with the other injectors in the set.
A set with one high-leakage injector can cause hard starting, low rail pressure, and a cylinder-specific misfire.
3. Test injection quantity at multiple pressures
For common-rail injectors, good spray alone is not enough. The bench should measure delivery quantity at several rail pressures and pulse widths. The injector must stay within the manufacturer’s tolerance band—not just “spray fuel.”
4. Check spray pattern and atomization
Look for a uniform cone, fine atomization, and no streaming or large droplets. A nozzle with a partially blocked hole can still flow enough fuel to pass a crude test but will cause poor combustion and smoke.
5. Verify electronic response and coding
The injector should respond consistently to test pulses without sticking. Confirm that the IMA/ISA/trim code on the injector is readable and matches the vehicle application. Many common-rail injectors must be coded after installation; a correct bench test does not remove that requirement.
6. Record the test report
Keep the test results—return flow, quantity, resistance, and code. If there is a warranty claim or a running problem later, the report proves the injector’s condition before installation.
Quick Bench-Test Checklist
Part number and application match
No physical damage or contamination
Solenoid resistance or piezo response within spec
Return flow/back leakage within OEM limit
Injection quantity within tolerance at multiple pressures
Spray pattern uniform and well atomized
Trim/calibration code present and correct
Test report saved
Case Study 1: The “Good Used” Injector With High Return Flow
A workshop bought a used common-rail injector from an online marketplace for a 2.0L diesel. The seller claimed it was “tested and working.” The injector looked clean, and the solenoid clicked when powered.
Before installation, the shop ran a bench test. Coil resistance was fine, but return flow was nearly double the OEM limit at test pressure. Spray atomization was also uneven. The injector was returned before it ever entered the engine.
Had it been installed, the likely result would have been hard starting, low rail pressure, and a cylinder misfire—followed by another injector removal and a frustrated customer.
Case Study 2: The Remanufactured Injector With the Wrong Trim Code
A small fleet purchased a set of remanufactured injectors for a common-rail van. One injector passed the electrical and back-leakage tests, but the injection quantity at high pressure was outside the tolerance band. The trim code on the injector also did not match the application list supplied by the seller.
The fleet returned the injector before installation and replaced it with a correctly coded unit. Bench testing avoided a limp-mode diagnosis, a coding session, and a likely comeback.
After the Bench Test: Installation Reminders
A passed bench test is not the final step. During installation:
Replace copper washers, O-rings, and seals as required.
Follow the OEM torque sequence and avoid over-tightening.
Keep fuel lines and injector ports spotless.
Prime the fuel system and check for leaks.
Enter injector trim codes where required.
Clear adaptations and verify idle, return flow, and misfire counters.
FAQ: Diesel Injector Bench Testing
Can I bench-test a diesel injector at home?
You can perform basic visual and electrical checks, but full spray, flow, and back-leakage testing requires professional equipment—especially for common-rail and piezo injectors.
How long does a bench test take?
A single injector usually takes 30–60 minutes depending on the test plan and injector type.
Does a bench test replace injector coding?
No. Many common-rail injectors still require coding or adaptation after installation.
What are common signs of a failed bench test?
High return flow, uneven spray, low or high injection quantity, incorrect resistance, sticking response, or a missing/mismatched trim code.