



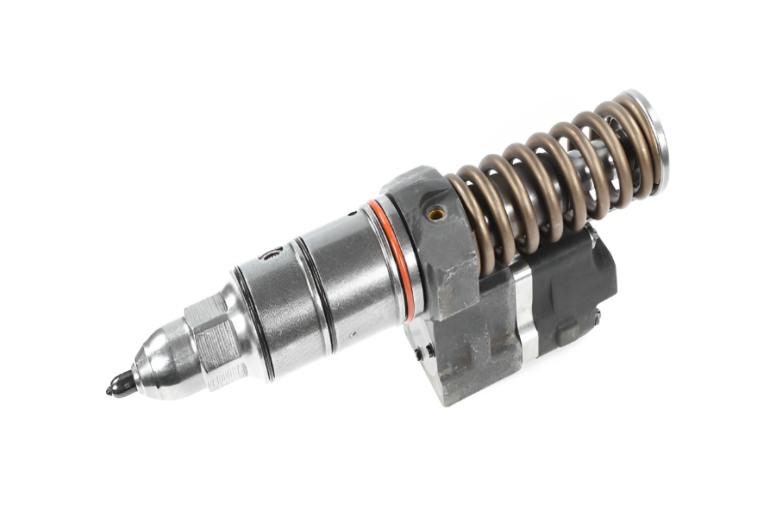
Detroit S60 Diesel Injector: Maintenance Best Practices
Detroit S60 Diesel Injector: Internal Structure, Key Components, Rebuild Tips, and Maintenance Best Practices
When it comes to heavy-duty diesel performance, the Detroit S60 remains one of the most respected engines on the road. At the heart of its power, fuel efficiency, and emissions compliance lies a precision component—the Detroit S60 diesel injector. Whether you’re a fleet manager, an independent owner-operator, or a diesel technician, understanding what’s inside these injectors, how to rebuild them correctly, and how to extend their service life can save you thousands in downtime and repairs.
In this comprehensive guide, we’ll dissect the internal structure, list every major component, walk through critical rebuild precautions, and share proven maintenance strategies—all optimized to help you rank for high-intent diesel repair searches.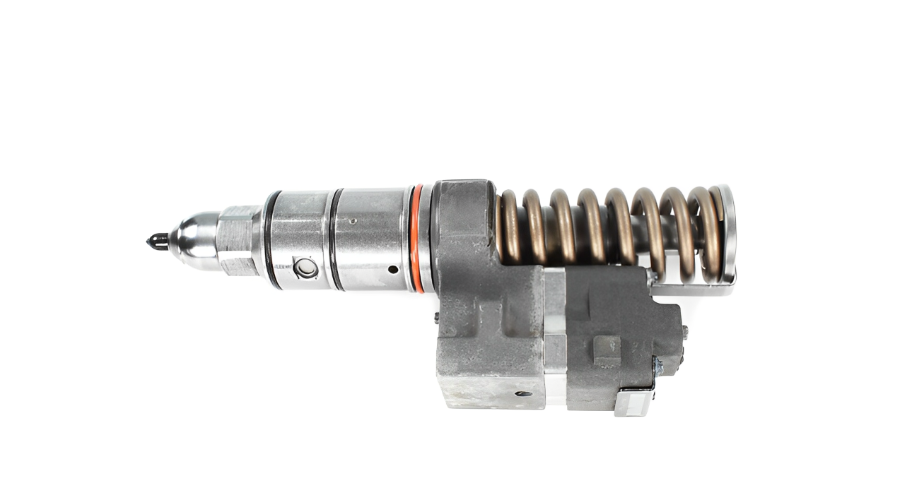
1. Inside the Detroit S60 Injector: Internal Structure Explained
The Detroit Diesel S60 uses an electronic unit injector (EUI) system, meaning each injector combines pumping and injection functions in a single housing. Unlike common-rail systems, the S60 injector is mechanically actuated by the camshaft and electronically controlled by the ECM.
The fuel flow path
Fuel enters through the high-pressure inlet, passes through a precision-machined plunger and barrel assembly, and is discharged through the nozzle tip at pressures exceeding 20,000 PSI. The internal structure is divided into three functional zones:
Hydraulic section – pressurization chamber, plunger, and barrel.
Control section – solenoid, armature, and control valve.
Atomization section – nozzle needle, spring, and spray orifices.
The injector body is typically a hardened steel housing that contains all moving parts in a sealed, lubricated environment. Critical clearances are measured in microns, making even minor wear catastrophic.
2. Major Components of the Detroit S60 Injector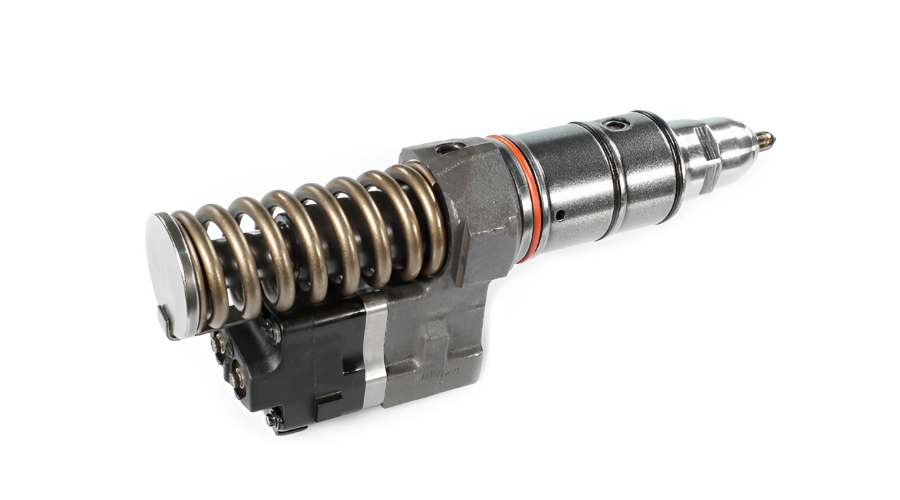
To diagnose failures or plan a rebuild, you must know each part by name and function. Here’s the complete parts breakdown:
| Component | Function |
|---|---|
| Plunger & Barrel | The heart of the pumping element. The plunger moves vertically to compress fuel to injection pressure. |
| Injection Nozzle (Tip) | Contains tiny orifices (5–7 holes) that atomize fuel into the combustion chamber. |
| Nozzle Needle & Spring | The needle lifts off its seat when fuel pressure overcomes spring force, allowing injection. |
| Solenoid Coil & Armature | Receives electrical pulse from the ECM to control the timing and duration of injection. |
| Control Valve (Spill Valve) | Regulates fuel spillage to precisely control injection quantity and timing. |
| O-rings & Seals | High-temperature Viton® seals prevent internal and external fuel leaks. |
| Retaining Nut | Holds the nozzle assembly to the injector body with exact torque. |
| Filter Screen | A fine mesh at the fuel inlet traps debris before it enters the precision mating surfaces. |
| Shim pack | Used to calibrate plunger stroke and injection pressure during assembly. |
Each component must meet OEM specifications. Aftermarket parts vary widely in quality—always source from reputable suppliers with proven metallurgy.
3. Detroit S60 Injector Rebuild: Critical Precautions
Rebuilding an S60 injector is not a backyard job. It requires a clean-room environment, specialized tools (pullers, lapping plates, micrometer, pop tester), and a deep understanding of Detroit’s service manuals. Here are the non-negotiable precautions:
✅ Use only OEM-spec calibration data
Every injector has a unique trim code or C-code that the ECM uses for fuel mapping. After rebuilding, you must reprogram the injector trim value into the ECU. Failing to do so causes rough idle, black smoke, and power loss.
✅ Replace all wear parts—never reuse plungers
The plunger and barrel are matched pairs with lapped surfaces. If you replace one, replace the pair. Mixing used components from different injectors will destroy the fit within hours.
✅ Torque to exact specifications
The retaining nut (nozzle holder) must be torqued to 70–75 ft-lbs (consult your manual). Over-torquing distorts the nozzle body; under-torquing causes leakage and poor spray pattern.
✅ Inspect the solenoid for resistance
Measure coil resistance (typically 0.5–2.0 ohms, depending on generation). Out-of-spec solenoids must be replaced—they cannot be repaired.
✅ Clean, clean, clean
Even a single grain of sand can score the plunger. Use ultrasonic cleaning with approved solvents, and dry with filtered compressed air. Handle all parts with lint-free gloves.
✅ Pop-test every rebuilt injector
A pop tester verifies opening pressure, spray pattern, and leak-down. Opening pressure for S60 injectors is usually 2,800–3,200 PSI (static). Any deviation requires shim adjustment.
✅ Replace high-pressure O-rings
Always use new copper washers and Viton seals. Reusing old seals is the #1 cause of post-rebuild fuel dilution in engine oil.
4. Maintenance Best Practices for Long Injector Life
Preventive maintenance is far cheaper than a full set of six new injectors (which can cost over $3,000). Follow these proven practices to maximize injector durability:
🔧 Change fuel filters religiously
Use a 10-micron primary and 4-micron secondary filter. Change them every 15,000 miles or per OEM schedule. Clogged filters increase suction pressure and cavitation, eroding the plunger.
🔧 Drain your fuel/water separator daily
Water is the #1 killer of S60 injectors. It rusts the barrel and destroys the lubricity. Drain the separator every morning before startup, especially in humid or cold climates.
🔧 Use high-quality diesel with proper lubricity
ULSD (ultra-low sulfur diesel) lacks natural lubrication. Add a certified lubricity additive (e.g., with 400–500 HFRR wear scar rating) or use premium fuel from top-tier suppliers.
🔧 Monitor fuel return flow
Excessive return flow (more than 30% of supply) indicates internal leakage—often a worn plunger or nozzle. Perform a return-flow test every oil change.
🔧 Keep the ECM software updated
Detroit releases calibration updates that refine injection timing and duration. An outdated map can cause over-fueling, which erodes nozzle tips.
🔧 Avoid idle time
Extended idling causes incomplete combustion, leading to carbon buildup on the nozzle orifices. If you must idle, use the engine’s “high idle” feature to raise RPM and improve atomization.
🔧 Inspect valve lash and cam follower
The injector’s mechanical actuation depends on camshaft lobe and rocker arm clearance. Incorrect valve lash (0.006” intake / 0.030” exhaust for many S60 variants) alters injection timing. Check and adjust every 100,000 miles.
🔧 Use a fuel pressure gauge
Monitor supply pressure (typically 60–80 PSI at the inlet). Low pressure causes aeration and poor atomization; high pressure can blow internal seals.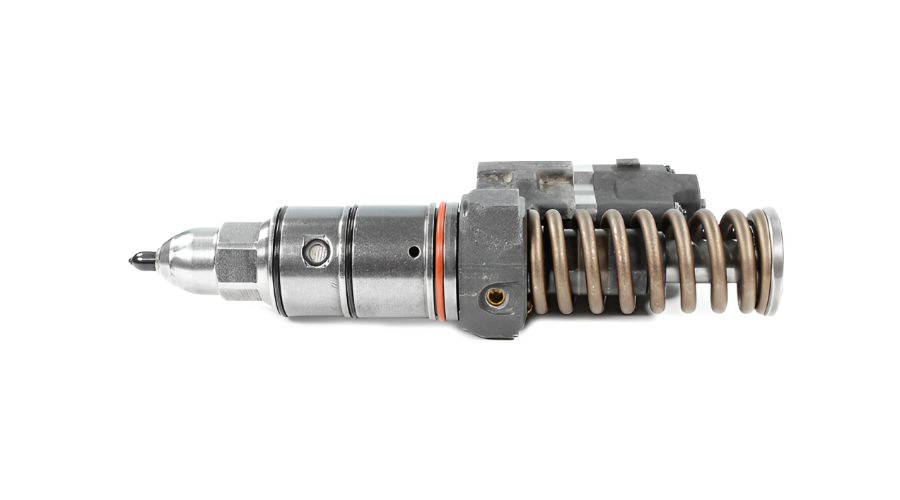
5. When to Replace vs. Rebuild – A Decision Guide
Replace if the injector body is cracked, the solenoid is shorted, or the nozzle threads are stripped.
Rebuild if you have a single failed injector with high mileage (500k+), as a matched set of rebuilt units often restores balance better than mixing old and new.
Always rebuild in sets of six for consistent flow rates—unless you are using flow-matched individual replacements.